Tutorials
Frame-by-frame and onion skinning
Draw a bouncing ball one keyframe at a time with F6 and F7, use onion skinning to see the frames around the one you draw, step through it, and play it on a loop.
This page is also a lesson inside Phoenix: choose and start Frame-by-frame and onion skinning, and Phoenix points at each control as you go. It takes about 8 minutes.
To follow along here instead, start a new document with : 1280 by 720 pixels at 12 frames per second.
In this tutorial you will animate a ball bouncing across the stage by drawing it again on each frame, the way hand-drawn animation is made.
The new document runs at 12 frames per second, so each drawing stays up a little longer.
1. Pick the Oval tool
Press O, or choose the Oval tool from the Rectangle slot.
2. Frame 1: the ball up high
Hold Shift and draw a ball near the top left of the stage. This is the top of its fall.
3. Go to frame 2
Click the cell under frame 2 in the timeline.
4. A blank keyframe
Press F7, or choose Insert > Timeline > Blank Keyframe. Frame 2 is now a keyframe of its own, with nothing on it: the stage is empty.
5. Turn on onion skinning
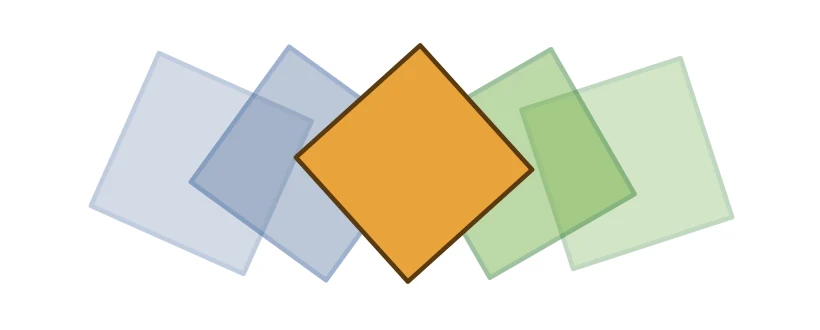
Click this button, or press Alt+Shift+O. The ball from frame 1 shows faintly, so you can place the next drawing against it. Frames before the playhead show in blue, frames after it in green.
6. Frame 2: falling
Draw the ball again, lower down and a little to the right of the faint one.
7. Go to frame 3
Click the cell under frame 3.
8. A keyframe with a copy
This time press F6, or choose Insert > Timeline > Keyframe. A keyframe starts with a copy of the frame before it, so the ball is already there to move.
9. Pick the Selection tool
Press V.
10. Frame 3: hitting the ground
Double-click the ball to select its fill and outline, then drag it down to the bottom of the stage, a little further right.
11. Squash it (if you like)
A ball squashes as it lands. Press Q for the Free Transform tool and drag the handles to make the ball a little wider and shorter.
Click Next when you are happy with it.
12. Frame 4: bouncing up
Click the cell under frame 4, then press F7 for a blank keyframe, so you can draw the ball fresh.
13. Draw the rising ball
Press O and draw the ball rising again, up and to the right of where it landed. The onion skin shows the frames before it.
14. Frame 5: up high again
Click the cell under frame 5 and press F7.
15. Draw the top of the bounce
Draw the ball near the top of the stage, further right again.
16. The onion skin markers
The markers in the ruler above the frames show which frames the onion skin covers, a few each side of the playhead. Drag a marker to show more frames or fewer. Right-click the onion skin button for more settings.
17. Back to the start
Click the Step back button, or press , (comma), until the playhead is on frame 1.
18. Step through the drawings
Now step forward with this button, or . (period), to frame 3. Flipping between drawings like this is the best way to check the motion.
Alt+. and Alt+, jump to the next and previous keyframe.
19. Loop playback
Click the Loop button, or press Alt+Shift+L, so playback goes round and round. Drag the ends of the loop range in the ruler to loop only part of the timeline.
20. Play it
Press Enter, or click Play. Turn the onion skin off to see the ball move cleanly. Press Enter again to stop.
What you did
You drew an animation frame by frame, with F7 for empty keyframes and F6 for copies, checked it with onion skinning and stepping, and played it on a loop.
To keep the ball bouncing, add more keyframes after frame 5. Then try Symbols and editing in place.